Have you heard about softwares SaaS? If you work at a startup in Brazil, you are probably already familiar with this term, after all, almost half of them use this type of software.
The data comes from a survey conducted by the Brazilian Association of Startups (ABStartups). The association carried out a survey of 14,000 startupss and found that 44%s use the SaaS model.
But after all, what is a SaaS? What are the most popular advantages and applications of this type of technology? And how can you develop your own software SaaS without needing code?
If you searched for “SaaS Software advantages and applications” on Google, you can rest assured that you have just arrived at the best place to learn everything about this model.
In this article, we will answer these questions and show you how SaaS can make your life and your business easier.
Are you curious? Then keep reading!
Contents
What is a SaaS system?
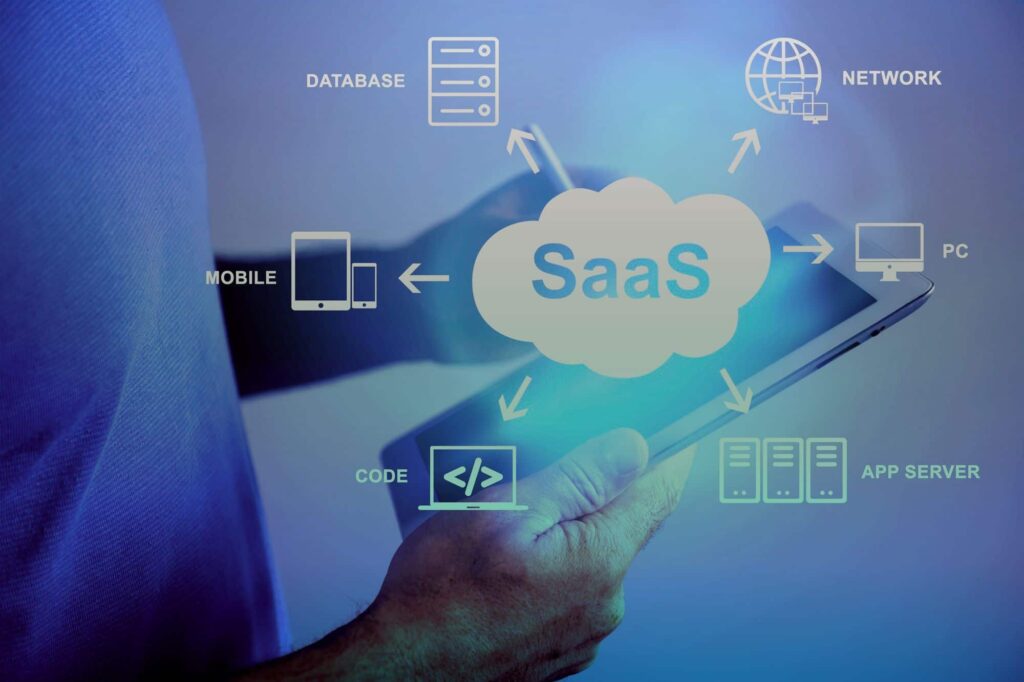
The acronym SaaS means software as a service, or software as a service, in Portuguese. It is a cloud-based software usage model, that is, the system is hosted remotely and can be accessed via the internet.
With it, there is no need to install, maintain and update hardware or softwares on your computer.
It works like a subscription model, where you pay a monthly or annual fee to use the service. That's why, no need to worry about licenses, infrastructure, security, backup or technical support.
Everything is handled by the software SaaS provider, who is responsible for managing access and ensuring that data, connectivity and servers are ready to offer the service.
There are many platforms that use the Saas model, we have separated some of the most famous so you can understand the grandeur of this software:
- Dropbox;
- Canva;
- Spotify;
- Netflix;
- Salesforce;
- Adobe Creative Cloud.
What are the advantages of software SaaS?
The software SaaS offers several advantages to users compared to other software models. See some of them:
Reduced license costs
One of the advantages of the software SaaS is the reduction in license costs. Users avoid expenses for purchasing, installing and maintaining hardware and software.
Data security
Another advantage is data security. The user no need to worry about viruses, hackers, data loss or theft.
Additionally, you can control access and privacy of your data by defining who can view or modify your information.
Allows customization
One more advantage of the software SaaS is that it allows customization. The user can choose between different plans, features, configurations and interfaces. It is possible to create a unique and personalized experience.
Budget predictability
Budget predictability is also considered a major advantage. The user Know exactly how much you will pay for the service, without surprises or hidden costs.
Scalable according to demand
One more advantage of software SaaS is that it is scalable according to demand. The user no need to worry about limits, bottlenecks or system overloads.
Easy update
Another advantage is easy updating. The user always has access to the latest and optimized version of software SaaS, at no additional cost or service interruption.
SaaS can be developed without code
Did you know that a software SaaS can be developed without the need for programming knowledge?
O Bubble, for example, is a platform that allows you to create and launch web applications without code, using just a visual editor. With him, you can develop your own software SaaS, without needing programming.
Bubble is an easy-to-use tool, which allows you to quickly create SaaS prototypes. You can also customize, scale and upgrade your software SaaS as needed. See some of its features:
Visual editor
You can create the design and logic of your web application by dragging and dropping elements onto the page.
Plugins and integrations
You can also add extra functionality to your web application by integrating it with external services, such as social networks, payment systems and APIs.
Database storage and management
You can create, edit and query your web application's data using simple expressions, without needing SQL code.
Authentication and payments
It is possible to create a registration and login system for your web application, using data from your database. You can also integrate your web application with payment systems such as Stripe, PayPal and Mercado Pago.
What are the most popular applications of the software SaaS?
The software SaaS can be used for a wide range of purposes, from project management to entertainment. They exist thousands of software SaaS applications available on the market, but here we will mention some of the most popular and well-known in each area:
Customer relationship monitoring
SaaS allows companies to manage and optimize contact with their customers, prospects and partners, using data and artificial intelligence.
One of the most famous examples of software in this area is the Salesforce, which offers solutions for sales, marketing, customer service, etc.
Planning and resources
software also enables companies to organize and manage their projects, tasks, teams and resources, efficiently and collaboratively.
One of the most popular examples is the monday.com, which offers an online project management platform, with pre-built and customizable templates.
Email marketing management
With the software SaaS you can create and send personalized and segmented email campaigns to attract and retain your customers.
One of the best known examples of SaaS in this area is the Mailchimp, which offers an email marketing platform, with design, automation, and analytics tools.
HR Management
Even in HR, SaaS can be useful. Companies can use software as a way to recruit, train, evaluate and retain their employees with talent management technologies.
One of the examples in this area is the Workday, which offers a human capital management platform, with solutions for recruitment, development, compensation, etc.
Security management
A SaaS also enables companies to protect their data, systems and networks using information security technologies.
One of the examples is the Norton, which offers a cybersecurity platform, with solutions for antivirus, VPN, backup, etc.
Call center
It is possible for companies to meet and resolve their customers' demands using communication and interaction technologies with SaaS.
An example is the Zendesk, which offers a customer support platform, with solutions for chat, telephone, email, etc.
Communication Software
Ultimately, the software SaaS enables businesses to communicate internally and externally using voice, video, text and image technologies.
O zoom is an example, a video conferencing platform, with resources for meetings, webinars, classrooms, etc.
Learning to program is very easy with No-Code Start-Up
Do you want to learn how to create your own software SaaS without needing code? Then you need to know No-Code Start-Up.
At No-Code Start-Up, you have access to a completely free Bubble course, which will show you how to create your software SaaS from scratch.
Don't miss the opportunity to develop your own software SaaS.