Creating a professional website can be a big challenge for people who don't know how to code or don't have the money to hire a developer.
But what if there was a way to create an efficient website without using any code?
This is the Webflow proposal, a platform that allows you to create professional websites without the need for code, using just one visual and intuitive interface.
Webflow has an intelligent content manager that allows create and manage different types of content.
Additionally, it provides marketing and SEO tools that help optimize your website for search engines and social networks.
Are you curious and want to know more about the tool? In this content, we will explain everything about Webflow, its advantages and features.
If you want to create a professional and efficient website without using code and without hiring a developer, this text is for you. Keep reading and discover how Webflow can turn your idea into reality!
Table of Contents
What is the Webflow no-code tool?

Webflow is a virtual platform that allows you to create professional websites without using programming codes. I.e, It is possible to create incredible pages without knowing how to program in HTML, CSS or JavaScript.
In practice, this means that you can use a graphical interface that shows you what the website will look like, in real time. To do this, simply drag and drop elements, such as:
- Text;
- Image;
- Video;
- Button;
- Form;
- Map.
Webflow is a responsive design, that is, it adapts to different screen sizes and devices. This way, your website looks beautiful and functional on computers, tablets and cell phones.
Both beginners and professionals can create a page using the available features and functionalities. It is possible, for example, to choose between ready-made templates or create your own design.
You can also integrate your website with external services, such as:
- Mailchimp;
- Zapier;
- Google Analytics.
See some examples of pages you can create within Webflow:
- Professional no-code website;
- no-code business blog;
- no-code website for e-commerce;
- Landing page no-code;
- no-code Microsite;
- no-code portfolio.
What are the differences between Bubble and Webflow tools?
O Bubble and Webflow are two popular no-code tools on the market that allow you to create websites and web applications without programming. But it is important to highlight that they have differences that can influence their creation.
Bubble is ideal for those who want create a dynamic web application that involves:
- Interaction with user;
- Database;
- Logic and workflows.
Bubble has a slightly higher learning curve, but offers more flexibility and resources to create complex solutions. It also has an active community and a marketplace for plugins and templates.
If you want to know more about this platform and its features, find out more about our bubble course free right now!
Webflow has a greater focus on creating static websites or websites with manageable content, which involve design, layout and aesthetics. Its learning curve is smoother, but it offers fewer options for creating advanced features.
FlutterFlow vs Webflow?
Despite the similarity in name, FutterFlow and Webflow have totally different purposes. We will detail the information below.
The first is a tool to create apps native mobile devices without programming, using Flutter, a development framework from Google.
It presents a visual interface that allows you to create screens, components, navigation and logic for your application. You can even: export your project to Android Studio or Xcode and publish your app in stores.
Webflow, as we have seen, is a tool that allows you to create professional websites without programming, using a visual interface that generates HTML, CSS and JavaScript code.
With it, you can host your website on Webflow itself or export the code to another service.
How to use Webflow to make a professional website without code?
Now that you know what Webflow is and how it compares to other no-code tools, let's explain how to use it to make your professional website, without the need to use traditional programming.
There are six simple steps, check it out:
Create an account
The first step is the most obvious: create an account on Webflow. On the platform, you can register using email or a Google, Facebook or Twitter account.
There is also the option to choose between the free or paid plan and this will depend exclusively on your needs.
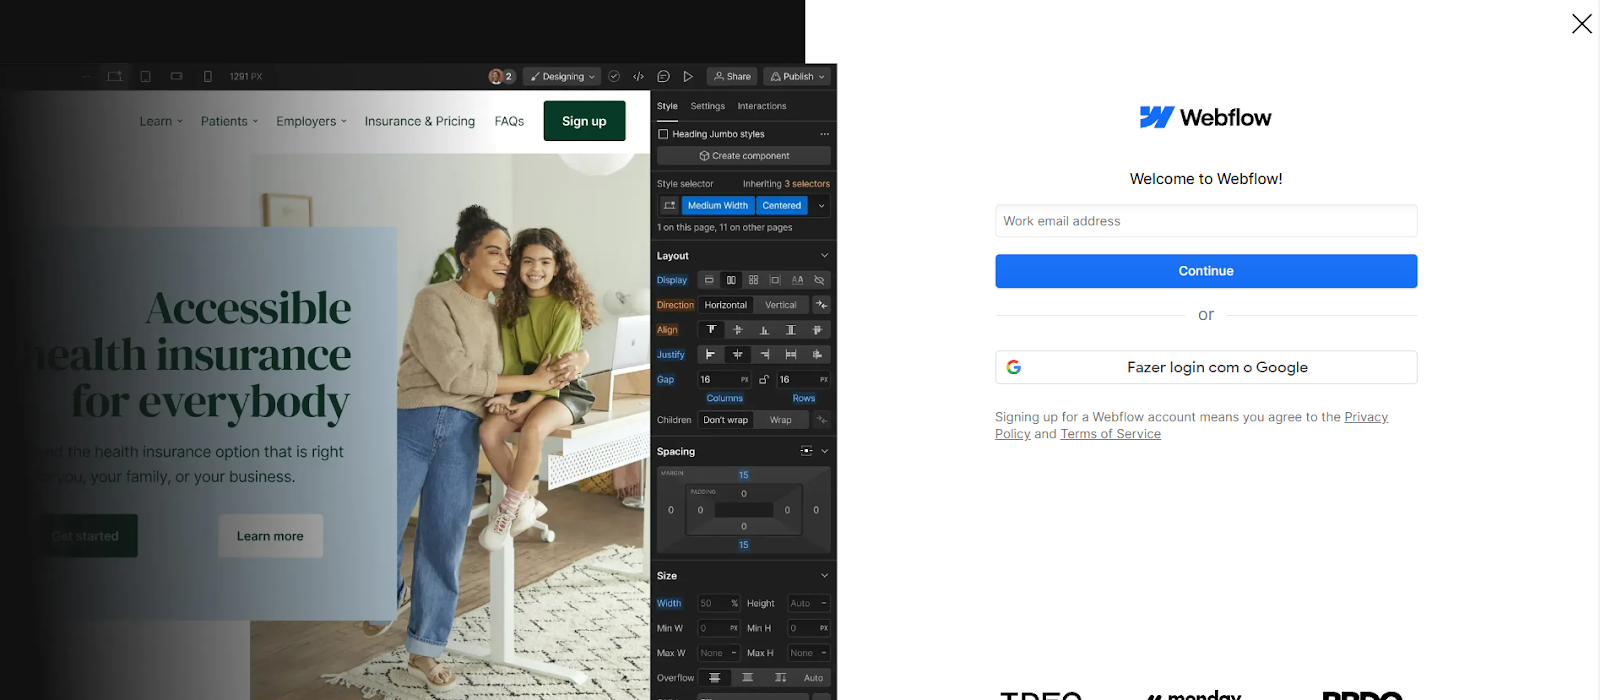
Image: Reproduction / Webflow
Choose a template template
Account created? Okay, now is the time to choose the template for your project. There are several free templates and it is also possible to start from scratch with a blank project.
The templates are categorized by the type of website, such as portfolio, blog or e-commerce, for example.
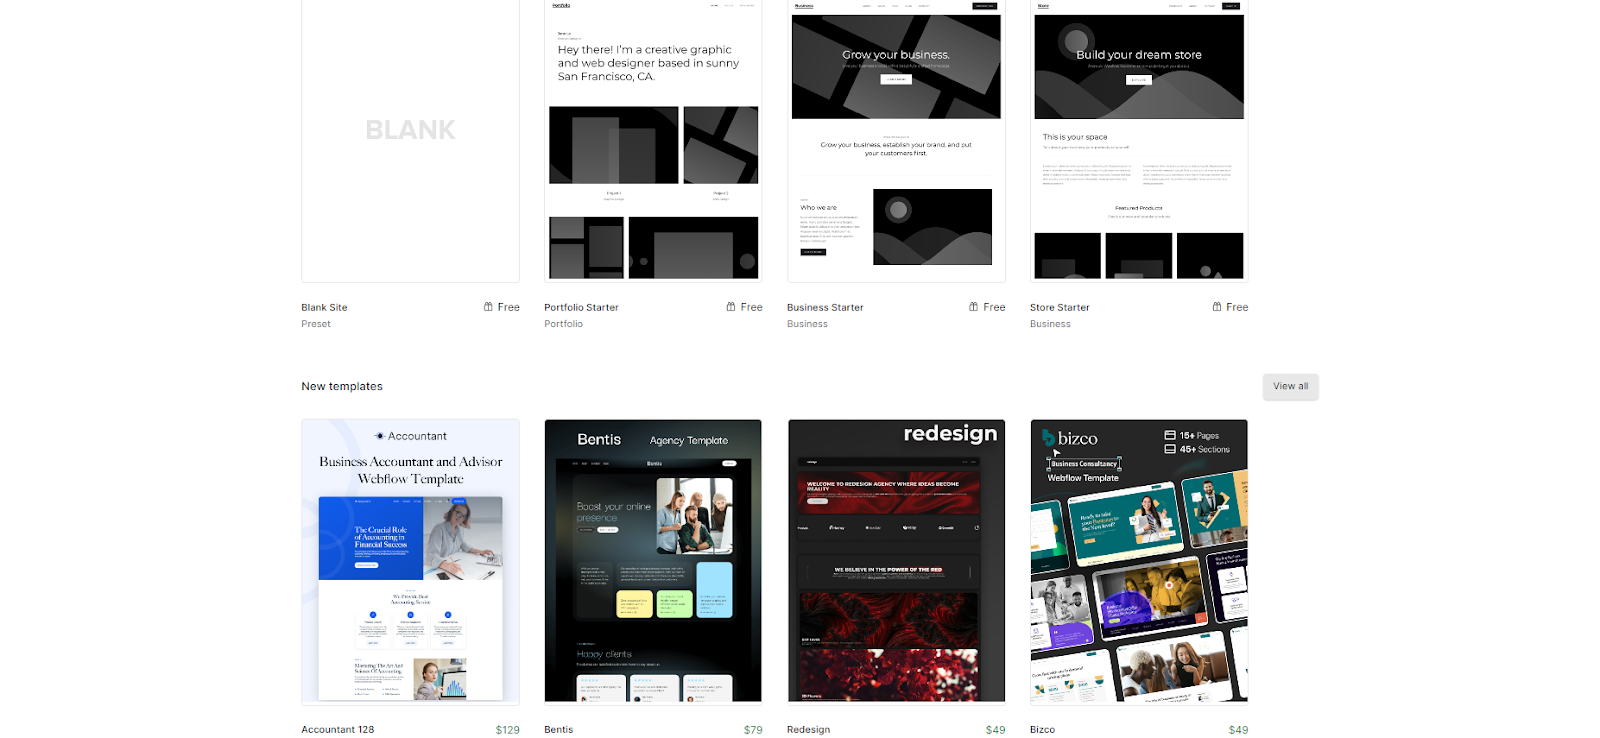
Image: Reproduction / Webflow
Add pages
With the template chosen, you can start adding pages to your project. To do this, simply click on the “New Page” button on the left panel and give the page a name.

Image: Reproduction / Webflow
Place the contents
The fourth step is to place the content you want on your website. To do this, simply drag and drop the elements you want to use from the right panel to the workspace in the center.
Here is the time to use creativity and bet on elements that represent your project!

Image: Reproduction / Webflow
Customize the appearance
With the content properly organized, the time has come to customize the appearance of the website. You can choose to keep the template image or create your own, changing colors, fonts and other elements.
To do this, simply select what you want to change and click on the “Style” tab on the right panel.
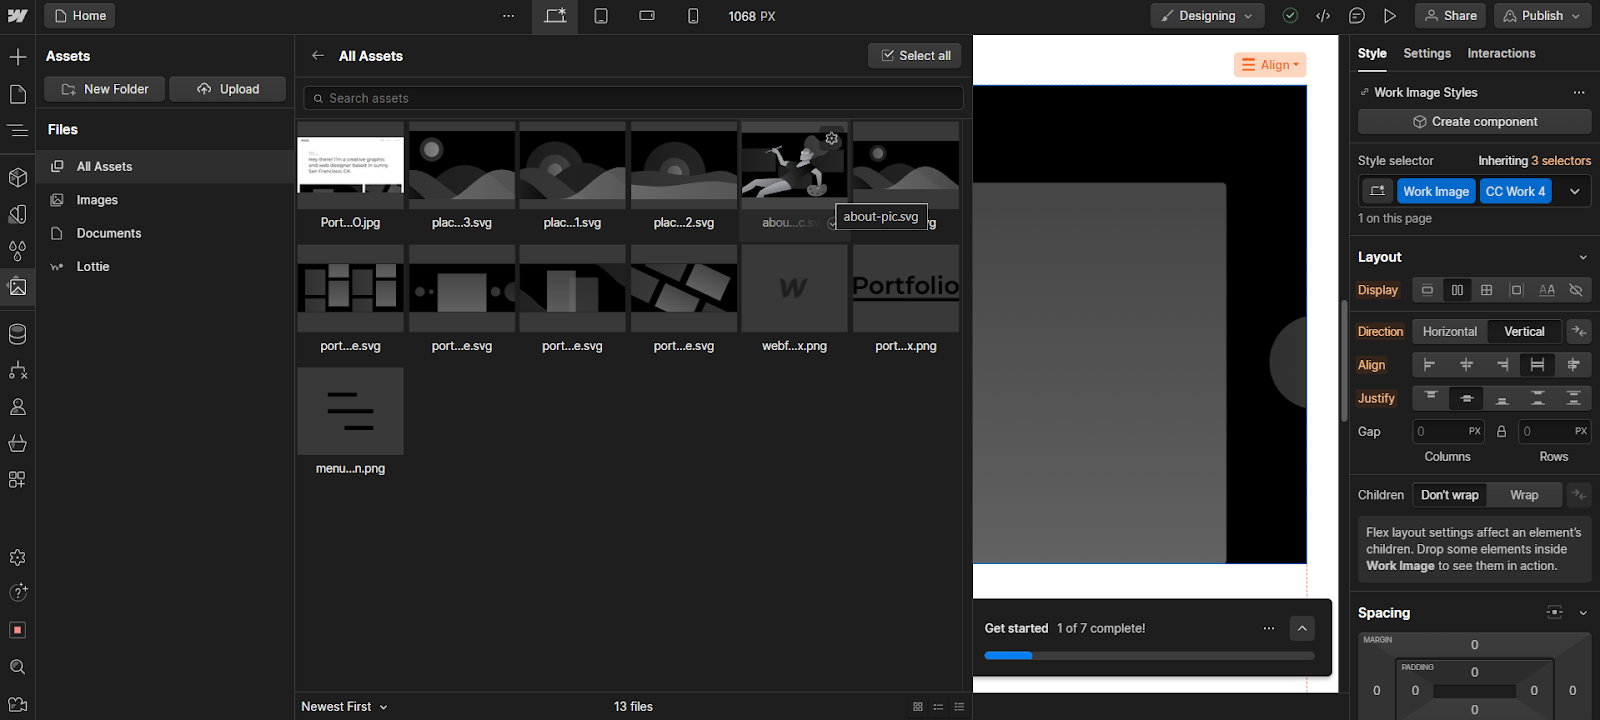
Image: Reproduction / Webflow
Publish
Finally, it's time to publish your website. This can be done in Webflow itself or by exporting the code to another service. Let's explain the two options step by step:
To publish to Webflow:
Just click the “Publish” button in the top right corner and choose a domain. You can use a free one (mysite.webflow.io) or a customized one (mysite.com). You can also configure SSL, CDN, and backup for your website.
To export the code
Just click on the “Export” button in the top right corner and download the ZIP file with your website’s HTML, CSS and JavaScript code.
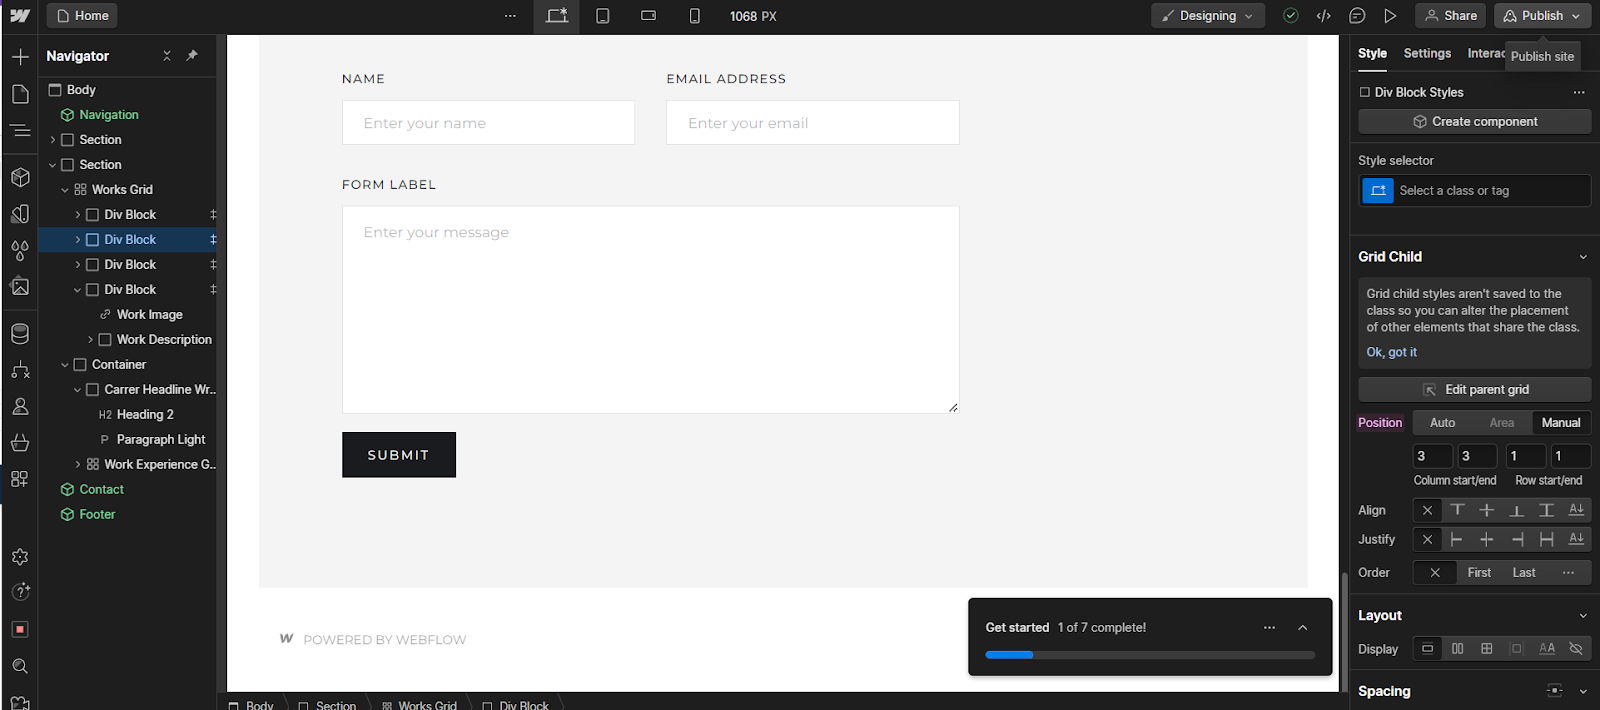
Image: Reproduction / Webflow
What are the advantages of the Webflow no-code tool?
Now that you know how to use Webflow to create your professional website without code, let's see what the advantages are of choosing to use the tool:
Ease of use
Webflow is very easy to use as it Does not require programming knowledge. The tip is to use ready-made templates or be inspired by examples from other users.
Meets professional needs
Despite its simplicity, the tool meets professional needs, as it allows you to create high-quality websites with:
- Responsive design;
- Clean and optimized code;
- Intelligent content manager;
- Marketing and SEO tools;
- Integrations with external services.
Almost free
Furthermore, it is an almost free tool, as it offers a Free plan to create up to two projects, with some resource and hosting limitations.
Visual editor
Webflow's visual editor lets you create websites with a graphical interface that generates HTML, CSS and JavaScript code.
You can see how your website will look in real time, without having to reload the page or change tabs.
Smart content manager
This functionality allows create and manage different types of content for your website, such as:
- Blog posts;
- e-commerce products;
- Customer testimonials.
Very easy for beginners
Finally, Webflow is considered a very easy tool for beginners, as it does not require programming knowledge. It's possible learn how to use Webflow in a short time, following tutorials, tips and courses available on the website.
Learning to program is very easy with No-Code Start-Up!
In this content, you learned everything about Webflow, a no-code tool for creating professional websites. Now is the time to put learning into practice.
Create your website yourself without using code! Learn more about the No-Code Start-Up courses that can help you. Don't leave it until tomorrow, come surf with us!