Imagine being able to create complete websites in less than a day and sell them for prices ranging from R$ 5,000 to R$ 10,000.
This reality is possible thanks to NoCode, an innovative approach that allows you to build robust and professional websites without writing a single line of code.
What once required months of development can now be accomplished in a matter of days, or even hours, with the help of NoCode tools and artificial intelligence (AI).
In this guide, I'll share a detailed step-by-step guide to help you master the best NoCode tools, from designing to delivering websites that have the potential to generate significant revenue.
Contents
1. The Power of NoCode: Simplicity and Efficiency
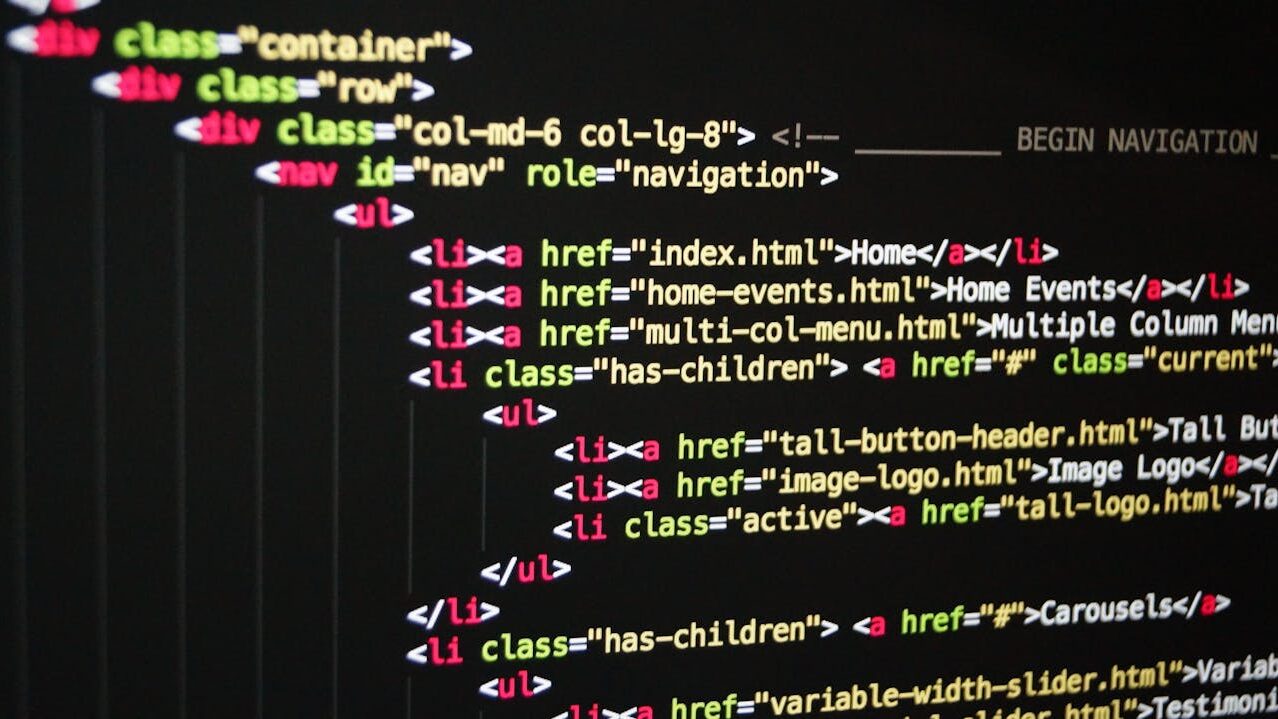
In the past, creating a professional website was a complex and time-consuming task. It required mastery of several programming languages, such as HTML, CSS, and JavaScript, as well as an understanding of advanced design and usability concepts.
This process made website development not only slow and expensive, but also accessible only to highly qualified professionals. With the emergence of tools NoCode, this reality has changed drastically.
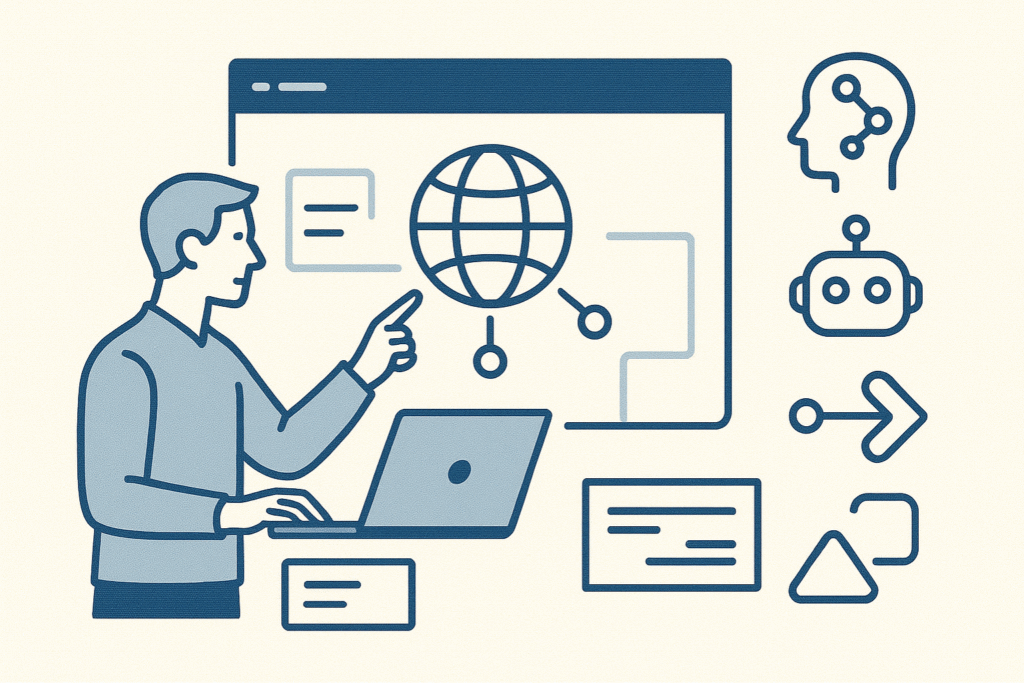
Today, you can create professional websites without the need for in-depth programming knowledge. Tools like Webflow, Framer and Relume allow you to build visually stunning and functionally robust websites.
2. The Process of Creating Websites with NoCode
Let's take a step-by-step look at how you can create a website using NoCode tools. The process is divided into four main stages: planning and research, structuring (UX), high-fidelity design (UI), and development and delivery.
Planning and Research
The first step in creating a website is planning. Here, you should define the website's objective and identify good market references.
Tools like Dribbble and Behance are excellent sources of inspiration, where you can find innovative and efficient designs to serve as a basis for your project.
During this phase, it is important to conduct detailed research on the sector in which the website will be positioned, identifying the needs and expectations of the target audience.
This will allow you to create a website that not only meets but exceeds customer expectations, offering an optimized user experience (UX) from the start.
NoCode Website Structuring: UX and Wireframes
After planning, it's time to structure the website. At this stage, you define the sitemap and create wireframes, which are low-fidelity sketches that outline the organization of the elements on each page.
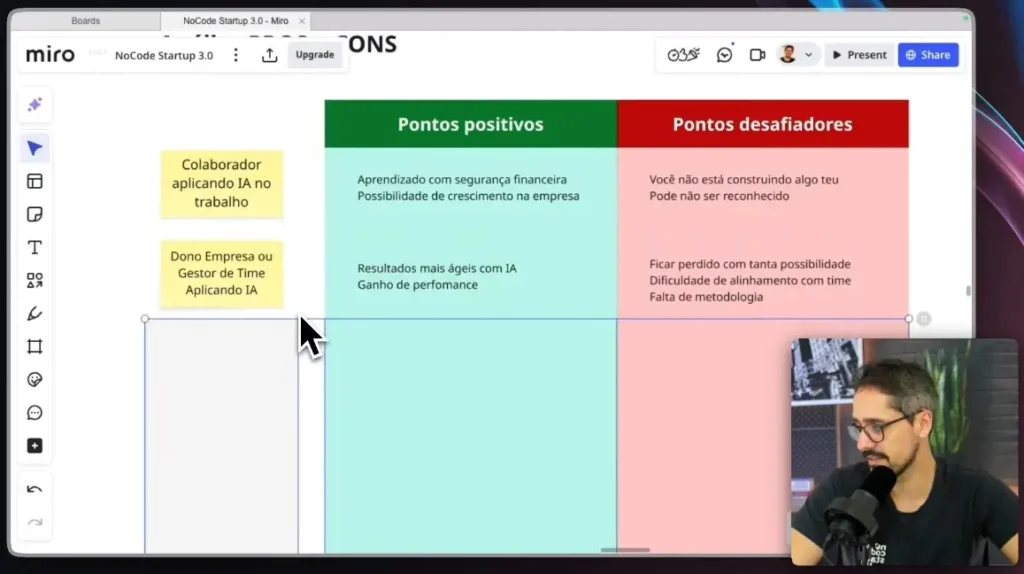
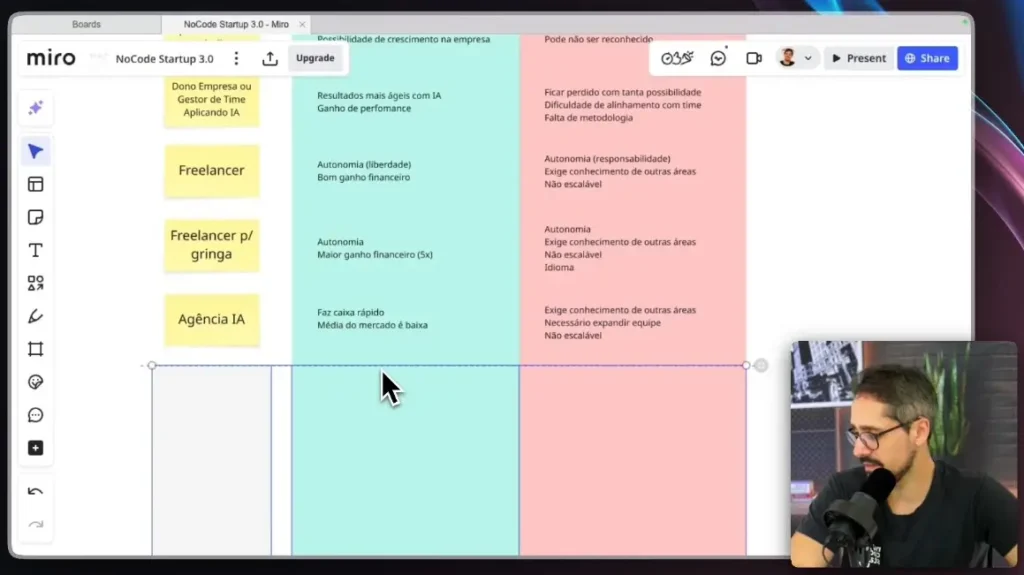
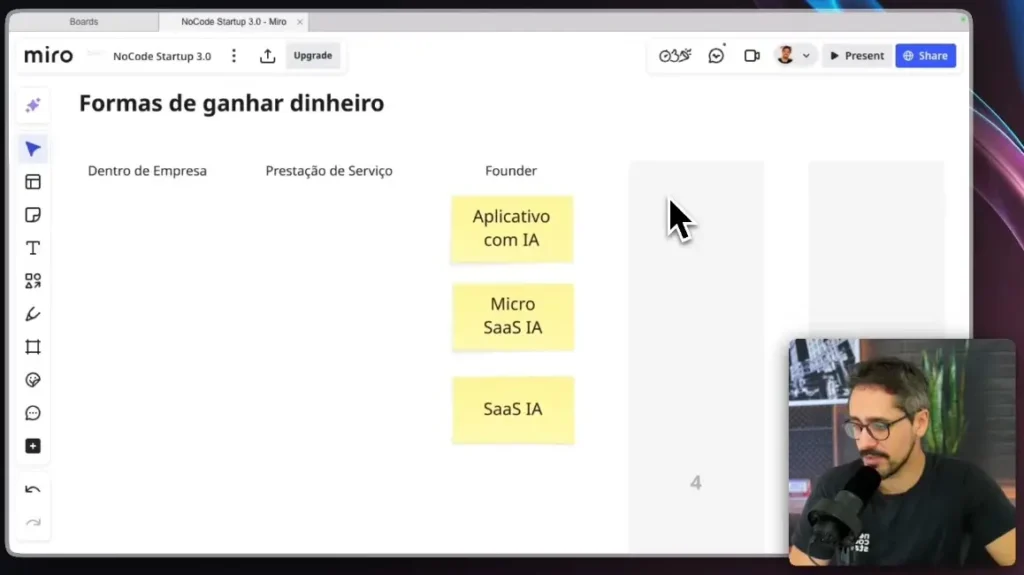
Tools like Figma and Miro are ideal for this step. They allow you to draw wireframes collaboratively and iteratively, ensuring that all stakeholders can visualize and validate the layout before moving on to detailed design.
Structuring is a fundamental step, as it defines the user experience (UX). It is important to think about navigation, content layout and clarity of information.
High Fidelity Design: UI
With the structure defined, it’s time to move on to high-fidelity design. This is where the website comes to life, with the application of colors, typography, images, and other visual elements that make up the user interface (UI).
Figma remains the tool of choice here as it allows you to create sophisticated and detailed designs, as well as making it easy to transfer those designs to NoCode development tools.
This is when you ensure that your website not only functions well, but is also visually appealing and aligned with your brand identity.

Development and Delivery: NoCode Websites in Action
Finally, we come to the development stage, where the website becomes functional. Tools like Webflow and Framer are perfect for this task, allowing you to turn your design into a fully functional website without writing any code.
One of the biggest advantages of NoCode is the speed with which you can launch a website. With the best tools, you can go from design to development in just a few hours, publish your site, and even set up a custom domain.
3. Essential Tools for NoCode Websites
Now that you know the process, let's explore some of the top NoCode tools you can use at each stage of creating a website.
Planning and Research: Dribbble and Behance
These platforms are packed with design inspiration. They allow you to see what’s trending in the market, explore different visual styles, and find ideas that can be adapted to your project.
Additionally, Dribbble and Behance provide an overview of design innovations, allowing you to stay up to date with the latest trends and apply these innovations to your projects.
Structuring: Figma and Miro
Figma is one of the most popular wireframing and prototyping tools. It allows you to collaboratively create low- and high-fidelity layouts, making it easy to get feedback and make revisions.
Miro is another great option, especially for brainstorming and mapping ideas in teams. Using these tools is crucial to ensuring that all aspects of the design are well planned before starting the development phase.
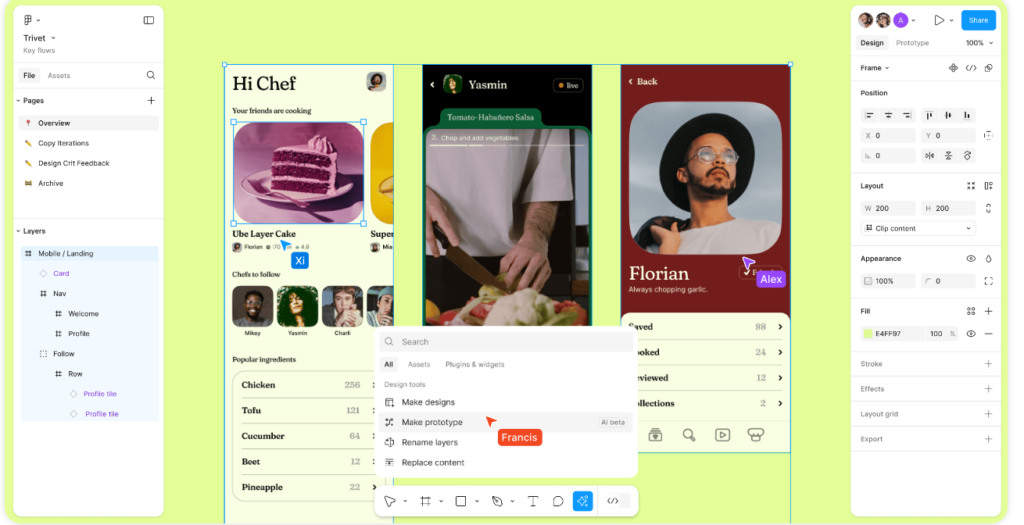
High Fidelity Design: Figma
Figma also shines in the detailed design stage. With it, you can create stunning interfaces, apply design systems, and ensure that all visual elements are perfectly aligned with your brand identity.
Additionally, Figma makes it easy to export your design to the development stages, making the process more fluid and integrated. One of its biggest benefits is the ability to share designs in real time.
Development and Delivery: Webflow and Framer
Webflow and Framer are two of the most powerful no-code tools available today. Both allow you to create complete websites, including animations, interactions, and even e-commerce, without writing a single line of code.
Webflow is known for its flexibility and ability to create highly customized websites, while Framer stands out for its ease of use and integration with Figma, making the design and development process even more agile.
These tools are essential for turning your designs into functional and attractive final products. They also offer support for SEO and other advanced features.
4. Bonus Tips to Speed Up Your NoCode Website Creation Process
Finally, here are some bonus tips that can further speed up your NoCode website creation process:
Use Ready-Made Templates
Using templates not only speeds up the creation process but also ensures that you are using tested and approved layouts.
With Framer, for example, you'll find a vast library of professional templates that you can quickly adjust and customize.

Harness the Power of AI
Many NoCode platforms are integrating artificial intelligence capabilities to help with website creation. For example, best AI tools can generate layouts, suggest design elements and even optimize the site structure.
Incorporate AI into your workflow to increase efficiency, reduce development time, and ensure your sites are optimized for performance and usability.
Entering the world of NoCode is an incredible opportunity for anyone who wants to create and sell websites quickly and efficiently.
With the right tools and strategies, you can transform an idea into a complete website in a matter of hours.
So whether you’re a freelancer, an entrepreneur, or someone looking for a new career, NoCode gives you the tools you need to succeed.
So now that you understand the process, how about applying these concepts to your next project? With a little practice, you'll be creating and selling high-value websites before you even know it.
And remember, the only limit is your creativity, so be sure to check out our... NoCodeIA Training!
